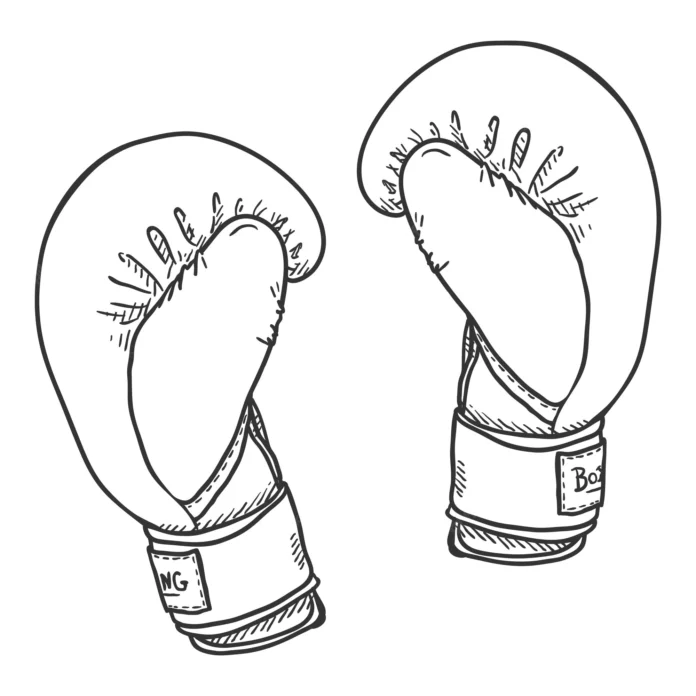
How To Draw A Boxing Gloves The most important accessory to a boxer is the boxing gloves, as they help to prevent serious injury from occurring. They are also an iconic symbol of the sport, and learning how to draw boxing gloves can be a great way to show your love for the activity of boxing. This is the guide to be on for any boxing fans who would like to share their passion.
We hope that you enjoy this step-by-step guide on how to draw boxing gloves that we have prepared for you! If you are looking for drawing ideas, cool drawings, drawing for kids, cartoon drawings, flowers drawing, animals drawing then you are at the right place, here you will get all of these drawings.
How to Draw Boxing Gloves – Let’s Get Started!
Step 1
The pair of boxing gloves that we will be drawing in this first step of our guide on how to draw boxing gloves will be hanging from the wall.
With this in mind, we can start to draw the first glove. The glove will have a thick, rounded rim that would go over your wrist, and this will be pointing upward to show that the glove is hanging.
Then, use some rounded lines for the left-hand side of the glove which would go over the top of your hand if you were wearing it.
Finally, draw another curved line on the left for the part of the glove your thumb would go into. Finish off with some crease line detail and then you can move on to the next step.
Step 2 – Next, start drawing the second glove
We will be adding the second glove to your boxing gloves drawing in this second part. This one will be a bit trickier, as the way it is hanging will show off the bottom of the glove.
The reason that it can be tricky is that this is where the glove is fastened, so there will be some string detail on display.
Start off by drawing the wrist of the second glove lower down from the first glove. Then, make some cross shapes using two diagonal thin shapes going over one another.
There will be three of these crossed stitch shapes with a straight line beneath them.
Then, there will be a rounded line surrounding the stitches. Finally, draw one more curved line for the thumb of the glove with some more crease detail to finish off this part.
Step 3 – Draw some more of the glove
In this third step of our guide on how to draw boxing gloves, we will be adding some more lines and details to the second glove that you started in the previous step.
First, draw another curved line coming down from the thumb of the glove. Then add lots of small crease details opposite to that line.
Once that is drawn, you can then add the top of the line that will be the section of the glove that covers the fingers.
We will finish off the outline for this glove in the next step, so when you’re ready we can proceed.
Step 4 – Next, finish off the second glove
We will be finishing off the glove outlines for your boxing gloves drawing in this step along with adding some extra details.
First, extend the curved line for the fingers section of the glove further into the interior.
Once the glove outline is complete, you can finish both of them off with some more line details.
These details will include some more creasing along with another line bordering the inner perimeter of the glove outlines.
Then it will just be a matter of adding some final details in the next part, so let’s move on!
Step 5 – Finish off your boxing gloves drawing
Earlier in this guide on how to draw boxing gloves, we mentioned that these gloves will be hanging from a wall.
We will be drawing the string that they are hanging from for this fifth step of the guide. For this part, you may want to use a ruler as it will make things much easier for you!
Before you use that ruler, you can start by drawing the bow at the top of the sting. Draw a small circle with loops and loose bits extending from it for this bow.
Then you can use your ruler to draw two pieces of string extending from each glove up to the bow.
You can also add some of your own details and additions, and perhaps you could also draw a background for it as well!
Once you have drawn all of these details as they appear in the reference image, you are ready for the final step where you can color in your drawing!
Step 6 – Finish off your boxing gloves drawing with some color
This is the final part of your boxing gloves drawing, and in this final step you can finish off by bringing some color to the drawing.
In our reference image, we used some shades of red and dark pink for the gloves themselves. Then we used browns and dark yellows for the rims of the gloves along with the string.
These are the colors that we chose, but this is your drawing! That means that the colors and art mediums that you use are up to you, and you should definitely let your creativity lead you as you finish off this awesome picture.
Apart from this, if you are interested to know more about Handle Printed Packaging Boxes UK Challenge With Ease Using These 7 Tips then visit our Business category


